Cleaning your earrings is essential for maintaining their beauty and ensuring they remain safe to wear. Whether you have precious gems, delicate pearls, or classic silver or gold, proper cleaning keeps them sparkling and in good condition.
This comprehensive guide of How To Clean Earrings will walk you through the best methods to clean different types of earrings, ensuring they shine brightly and enhance your style every time you wear them.
Why Should You Clean Your Earrings Often?
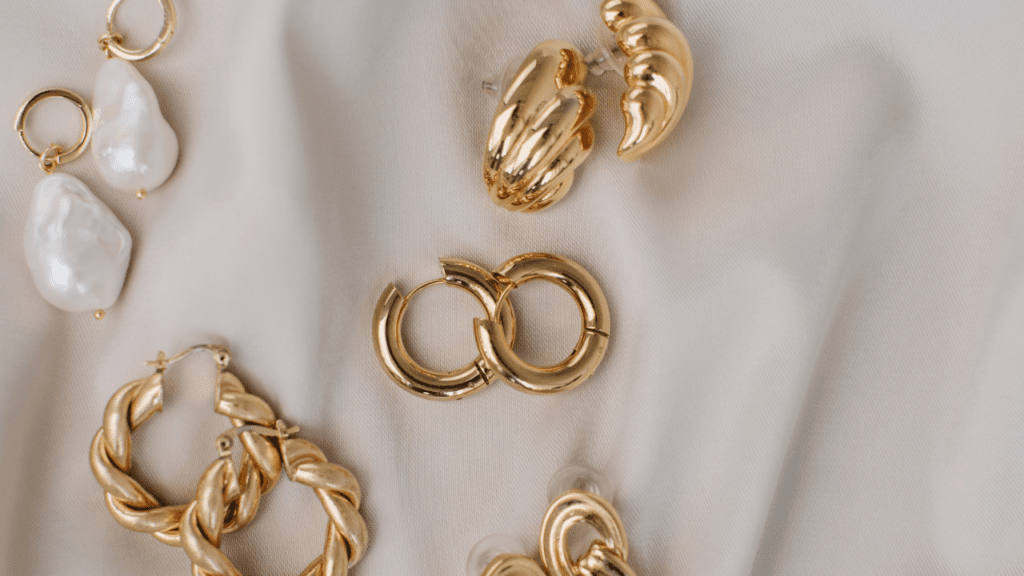
Earrings are such a fun and stylish accessory, but they do require a bit of upkeep to stay in tip-top shape. Let’s chat about why you should clean your earrings regularly and how it can make a big difference.
1. Keep Infections at Bay
Your ears are sensitive, especially around piercings, and earrings can trap bacteria and dirt. Regular cleaning helps prevent these unwelcome guests from causing painful infections.
2. Say Goodbye to Allergic Reactions
Even if your earrings are hypoallergenic, they can still accumulate oils and grime that may irritate your skin. Keeping them clean reduces the risk of unexpected allergic reactions.
3. Maintain That Sparkle
Over time, your earrings can lose their shine due to makeup, oils, and dust. Regular cleaning restores their brilliance and keeps them looking as fabulous as ever.
4. Prevent Tarnish and Damage
Metal earrings, especially silver, can tarnish over time. Cleaning them frequently helps prevent this dulling effect and protects them from potential damage.
5. Enjoy Comfortable Wear
Dirty earrings can be tricky to put on and uncomfortable to wear. Clean earrings glide in smoothly and feel better on your ears, making your accessorizing experience much more enjoyable.
How To Clean Earrings | Pro Guide
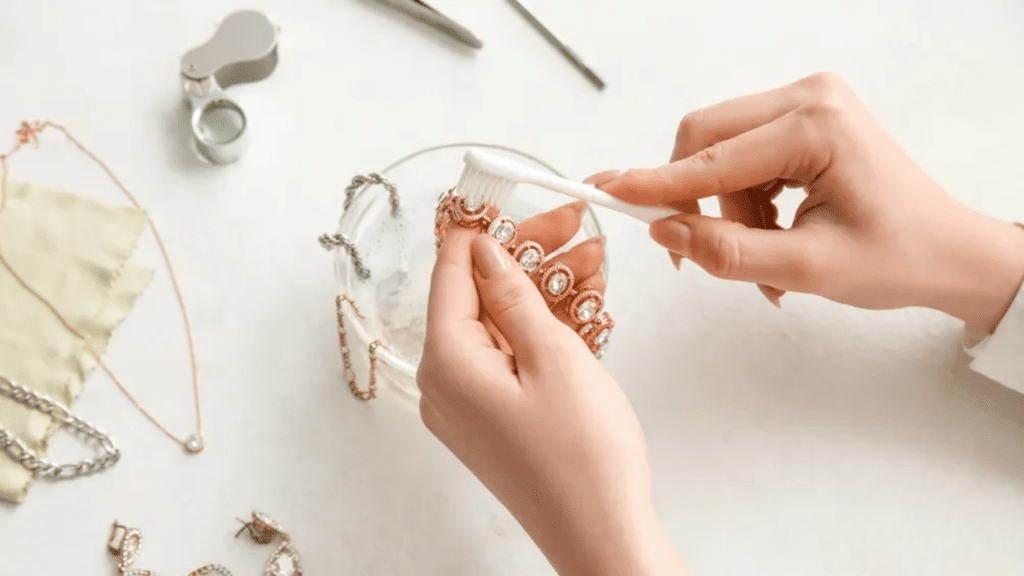
What You Need To Clean Your Earrings
Let’s talk about the essentials you need to keep your earrings sparkling clean. It’s easier than you might think and doesn’t require any fancy equipment. Here’s what you’ll need:
1. Mild Soap or Gentle Detergent
Start with an essential, gentle soap or detergent. You don’t need anything harsh; in fact, it’s better to avoid strong chemicals, which can damage delicate materials. Mild soap mixed with warm water creates a perfect solution to clean most types of earrings. Just a drop or two will do the trick!
2. Soft Toothbrush
A soft-bristled toothbrush is your best friend when it comes to cleaning earrings. It’s great for reaching into all the little nooks and crannies that collect dirt. Think about all those intricate designs and crevices where grime likes to hide – a toothbrush can gently scrub them clean without scratching the surface.
3. Alcohol Wipes or Cotton Swabs
For a quick and easy clean, alcohol wipes or a cotton swab dipped in rubbing alcohol are super handy. They’re perfect for disinfecting the posts and backs of your earrings, where germs can accumulate. This method is beneficial for metal parts and is a fast way to refresh your earrings on the go.
4. Jewelry Cleaner
If you have earrings made from precious metals or with gemstones, a specialized jewelry cleaner is a good investment. These cleaners are designed to be gentle on valuable materials while effectively removing dirt and oils. Always check that the cleaner is safe for the specific type of metal or stone in your earrings.
5. Soft Cloth or Towel
Finally, a soft, lint-free cloth or towel is essential for drying your earrings after cleaning. Make sure they’re scorched before you put them away, or wear them again to avoid any moisture-related issues. A microfiber cloth is excellent because it’s gentle and doesn’t leave fibers behind.
These simple tools are all you need to keep your earrings looking their best. Regular cleaning not only helps them shine but also keeps your ears healthy and comfortable. So, next time you’re giving your earrings a refresh, gather these items and enjoy the process of bringing your favorite pieces back to life!
How To Clean Earrings At Home
How To Clean Earring Backs
Cleaning earring backs is just as important as cleaning the earrings themselves. Those tiny pieces often get overlooked but can harbor a lot of dirt and bacteria. Here’s a simple, step-by-step guide to get them sparkling clean.
Step 1: Gather Your Supplies
First things first, get everything you’ll need:
- Mild soap or a gentle detergent
- Warm water
- A small bowl or dish
- A soft toothbrush or a small brush
- Alcohol wipes or rubbing alcohol and cotton swabs
- A soft cloth or paper towel for drying
Step 2: Soak in Warm Soapy Water
Fill a small bowl with warm water and add a few drops of mild soap. Place your earrings back in the water and let them soak for about 5-10 minutes. This helps loosen up any dirt, oils, or buildup.
Step 3: Scrub Gently
After soaking, take a soft toothbrush or a small brush and gently scrub the earring backs. Pay special attention to any grooves or threads where grime can accumulate. The soaking should have loosened most of the debris, making it easier to clean.
Step 4: Rinse and Disinfect
Rinse the earring backs under warm running water to remove soap and loosened dirt. Then, use alcohol wipes or a cotton swab dipped in rubbing alcohol to disinfect them thoroughly. This step is crucial for killing any remaining bacteria and ensuring they’re safe to wear.
Step 5: Dry Thoroughly
Finally, place the cleaned earring backs on a soft cloth or paper towel and let them air dry. Make sure they’re scorched before putting them back on your earrings to avoid any moisture issues.
How To Clean Earrings With Hydrogen Peroxide
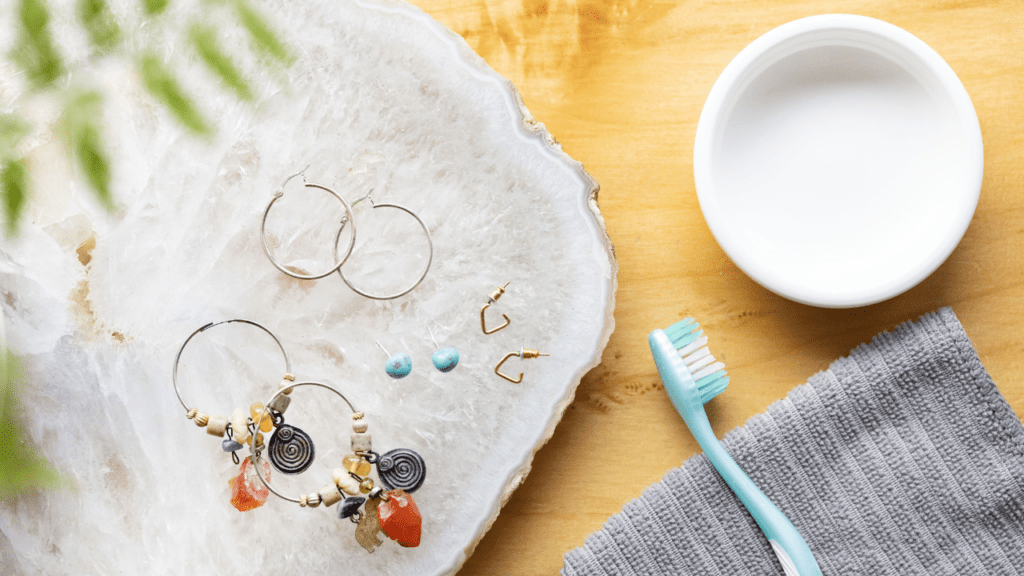
Cleaning your earrings with hydrogen peroxide is a great way to disinfect them and keep them looking their best. It’s practical, easy, and something you can do with items you probably already have at home. Here’s a simple, step-by-step guide to get your earrings sparkling clean using hydrogen peroxide.
Step 1: Gather Your Supplies
To get started, you’ll need:
- Hydrogen peroxide (3% solution, which is typical for household use)
- A small bowl or dish
- A soft toothbrush or a small brush
- A pair of tweezers (optional)
- A soft cloth or paper towel for drying
Step 2: Prepare the Cleaning Solution
Pour enough hydrogen peroxide into a small bowl to submerge your earrings. Hydrogen peroxide is an excellent disinfectant and can help break down any buildup on your jewelry. If you’re cleaning earrings with gemstones, it’s best to check if they’re safe to clean with peroxide, as some stones are delicate.
Step 3: Soak the Earrings
Place your earrings into the bowl of hydrogen peroxide and let them soak for about 5-10 minutes. This soaking helps to loosen dirt, grime, and oils. If you’re cleaning delicate or vintage earrings, you might want to shorten the soaking time to avoid any potential damage.
Step 4: Scrub Gently
After soaking, use a soft toothbrush or a small brush to scrub the earrings gently. Focus on any intricate parts or settings where dirt can get trapped. Be gentle, especially with delicate pieces or stones, to avoid any scratching or damage.
Step 5: Rinse and Inspect
Once you’ve given them a good scrub, rinse the earrings under warm running water to remove any residue and leftover peroxide. Use tweezers if needed to hold the earrings while rinsing, especially if they’re small. Check them closely to see if they’re as clean as you’d like. If they need a bit more cleaning, you can repeat the soaking and scrubbing steps.
Step 6: Dry Thoroughly
Place the cleaned earrings on a soft cloth or paper towel to air dry. Make sure they’re scorched before wearing or storing them to prevent any moisture-related issues. Drying also helps keep metal parts from tarnishing and ensures that no water is trapped around stones or settings.
How To Clean Pearl Earrings
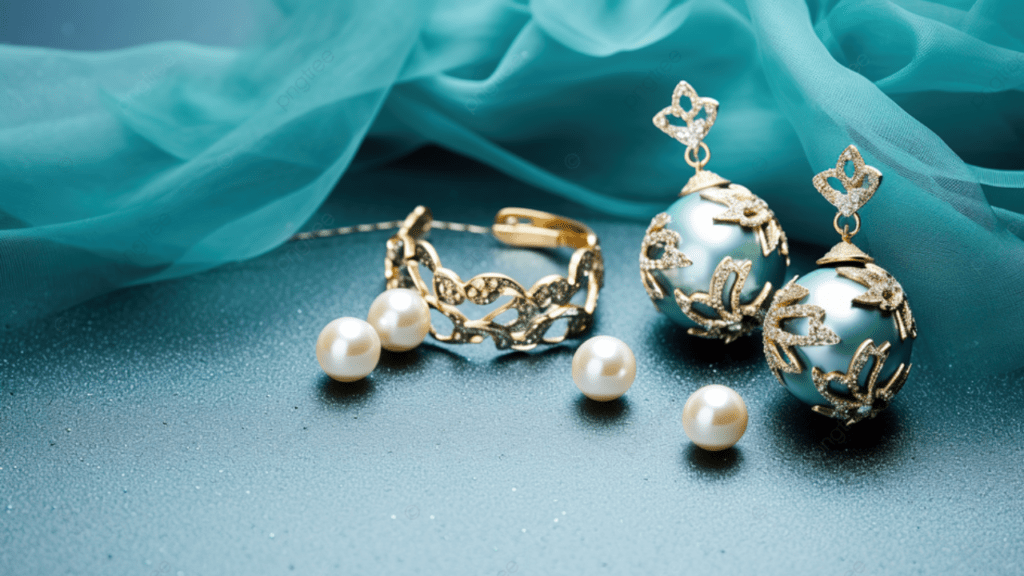
Pearl earrings are timeless and elegant, but they do need a bit of extra care to keep their luster. Pearls are delicate and can be easily damaged by harsh chemicals or rough handling. Here’s a gentle, step-by-step guide to clean your pearl earrings and keep them looking beautiful.
Step 1: Gather Your Supplies
For cleaning pearls, you’ll need:
- Mild soap or a gentle detergent (avoid anything too harsh or abrasive)
- Warm water
- A soft, lint-free cloth or a microfiber cloth
- A small bowl
- A soft toothbrush or a clean makeup brush
- A soft towel for drying
Step 2: Prepare a Gentle Cleaning Solution
In a small bowl, mix a few drops of mild soap or gentle detergent with warm water. Make sure it’s not too hot, as high temperatures can damage pearls. This mild solution is perfect for cleaning without harming the delicate surface of the pearls.
Step 3: Dampen the Cloth
Dip the soft, lint-free cloth or microfiber cloth into the soapy water. Make sure the cloth is damp but not soaking wet. Excess water can seep into the pearls’ drilled holes and damage the adhesive or the pearls themselves over time.
Step 4: Wipe the Pearls
Gently wipe the surface of each pearl with a damp cloth. Avoid scrubbing or applying too much pressure. Pearls are organic and can scratch easily. Use a soft, circular motion to clean them thoroughly, paying attention to areas where oils and dirt tend to accumulate.
Step 5: Clean the Earring Posts and Settings
For the metal parts of the earrings, like the posts and settings, you can use a soft toothbrush or a clean makeup brush. Dip the brush in the soapy water and gently clean around the metal parts. Be very careful not to scrub the pearls themselves. If your pearl earrings have intricate settings, this step will help remove any grime that may be hiding in the details.
Step 6: Rinse and Dry
Dampen another clean, soft cloth with plain, warm water (no soap) and gently wipe the earrings to remove any soapy residue. Be thorough but gentle. Lay the earrings on a soft towel and let them air dry completely. Avoid using heat or direct sunlight to speed up drying, as this can damage the pearls.
Step 7: Store Properly
Once your pearl earrings are completely dry, store them separately from other jewelry to avoid scratches. It’s best to keep them in a soft pouch or a lined jewelry box. Pearls also benefit from being worn regularly, as your skin’s natural oils help keep them lustrous.
How Do You Clean Gemstone Earrings?

Gemstone earrings are stunning and often hold special meaning, so keeping them clean and sparkling is essential. Different gemstones require different levels of care, but here’s a general, step-by-step guide to safely clean your gemstone earrings at home.
Step 1: Gather Your Supplies
Before you start, make sure you have these items on hand:
- Mild soap or gentle detergent
- Warm water
- A small bowl or dish
- A soft toothbrush or a clean makeup brush
- A soft, lint-free cloth or microfiber cloth
- A soft towel for drying
Step 2: Check Your Gemstones
Before diving in, it’s good to know a bit about your gemstones. While most can handle a gentle cleaning, some, like opals or emeralds, are more delicate and need extra care. If you’re unsure, a quick online check or a chat with a jeweler can be helpful.
Step 3: Prepare the Cleaning Solution
Fill a small bowl with warm water and add a few drops of mild soap or gentle detergent. Mix it gently to create a soapy solution. Avoid hot water, which can damage some gemstones and loosen settings.
Step 4: Soak the Earrings
Place your gemstone earrings in the soapy water and let them soak for about 5-10 minutes. This helps to loosen any dirt, oils, or residue. If your earrings have very delicate stones or are set in antique settings, you might want to skip this step and go straight to gentle brushing.
Step 5: Gently Brush the Gemstones
Using a soft toothbrush or a clean makeup brush, gently scrub the gemstones and the settings. Pay close attention to any intricate areas where grime can build up. Be gentle, especially with softer stones, to avoid scratches or damage. Brush in a circular motion to reach all the angles and facets of the stones.
Step 6: Rinse Thoroughly
Rinse the earrings under warm running water to remove any soap and loosened dirt. Hold them securely to avoid dropping them down the drain (using a strainer in the sink is a good idea). Make sure all the soap is washed away, as any residue can dull the shine of the gemstones.
Step 7: Dry and Polish
Place the rinsed earrings on a soft towel and pat them dry. Use a soft, lint-free cloth to polish the gemstones and metal parts gently. This helps to bring back their shine and removes any remaining moisture. Avoid using paper towels, as they can scratch delicate surfaces.
Step 8: Store Properly
Once your gemstone earrings are completely dry, store them in a way that protects them from scratches and damage. Keeping them in a lined jewelry box or a soft pouch is ideal. If your earrings have different types of gemstones, storing them separately is a good idea to prevent harder stones from scratching softer ones.
How To Clean Diamond Earrings
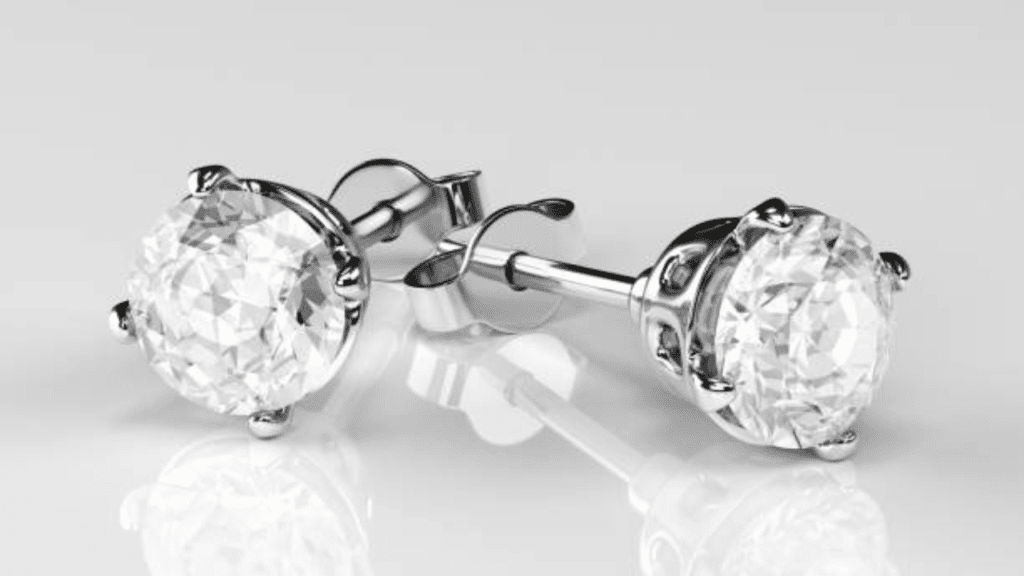
Diamond earrings are timeless and elegant, and keeping them clean ensures they always shine bright. Luckily, diamonds are pretty tough, so cleaning them is straightforward. Here’s a step-by-step guide to keep your diamond earrings looking their sparkling best.
Step 1: Gather Your Supplies
You’ll need a few essential items to clean your diamond earrings:
- Mild dish soap or gentle detergent
- Warm water
- A small bowl or dish
- A soft toothbrush or a small, soft-bristled brush
- A soft, lint-free cloth or microfiber cloth
- A soft towel for drying
Step 2: Prepare the Cleaning Solution
Fill a small bowl with warm water and add a few drops of mild dish soap or gentle detergent. Mix gently until it’s nice and soapy. Avoid using any harsh chemicals, as they can damage the metal settings or dull the diamonds over time.
Step 3: Soak the Earrings
Place your diamond earrings in soapy water and let them soak for 5-10 minutes. This helps to loosen dirt, oils, or buildup on the diamonds and metal. If your earrings have particularly intricate settings, soaking them a bit longer can help loosen any stubborn grime.
Step 4: Brush the Diamonds
Using a soft toothbrush or a small, soft-bristled brush, gently scrub the diamonds and the settings. Focus on the areas around the prongs or any crevices where dirt can hide. Use gentle, circular motions to get into all the nooks and crannies without scratching the metal or the stones.
Step 5: Rinse Thoroughly
Rinse the earrings under warm running water to wash away the soap and any loosened dirt. Be sure to hold them securely to avoid losing them down the drain. A strainer in the sink is a good safety measure here. Make sure to rinse thoroughly, as any leftover soap can leave a film on the diamonds.
Step 6: Dry and Polish
Place the rinsed earrings on a soft towel and gently pat them dry. Use a soft, lint-free cloth or microfiber cloth to polish the diamonds and metal settings. This step helps to bring back their sparkle and shine. Avoid using paper towels or rough cloths, as they can scratch the metal.
Step 7: Check the Settings
While you’re cleaning, it’s a good time to check that the diamonds are secure in their settings. Gently wiggle the stones to make sure they’re snug and not loose. If you notice any issues, it might be time to visit your jeweler for a professional check-up.
Step 8: Store Properly
After your earrings are completely dry, store them safely to prevent scratches or damage. It is ideal to keep them in a soft pouch or a lined jewelry box. Separate them from other jewelry to avoid knocks or bumps that could loosen the stones.
How To Clean Gold Earrings
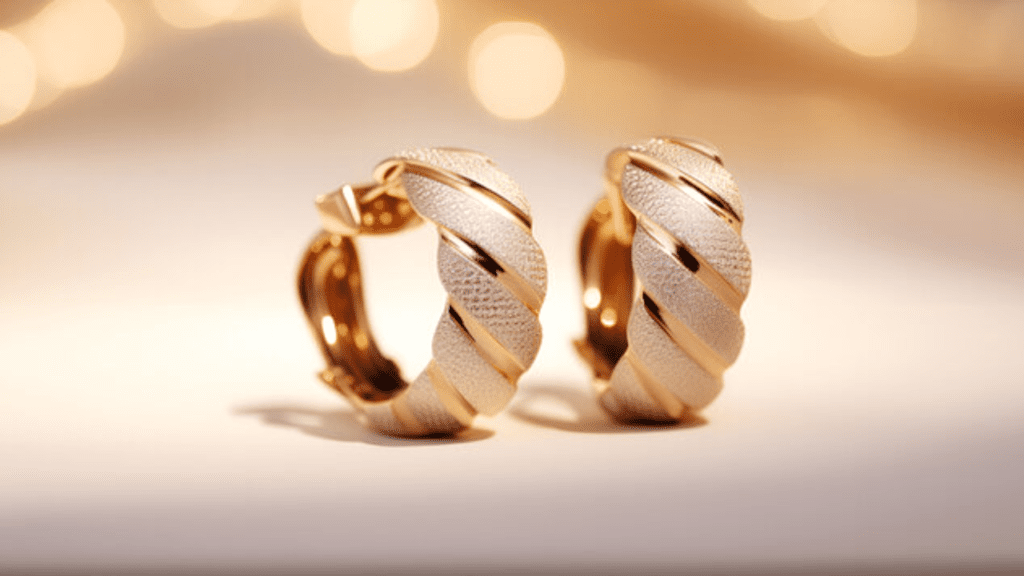
Gold earrings are classic and versatile, perfect for any occasion. But to keep them looking shiny and new, they need regular care. Here’s an easy, step-by-step guide to cleaning your gold earrings and keeping them glowing.
Step 1: Gather Your Supplies
You’ll need a few simple items:
- Mild dish soap or gentle detergent
- Warm water
- A small bowl or dish
- A soft toothbrush or a small, soft-bristled brush
- A soft, lint-free cloth or microfiber cloth
- A soft towel for drying
Step 2: Prepare the Cleaning Solution
Fill a small bowl with warm water and add a few drops of mild dish soap or gentle detergent. Mix it gently until the water is soapy. This will help break down any oils, dirt, or residue on your gold earrings.
Step 3: Soak the Earrings
Place your gold earrings in soapy water and let them soak for about 10-15 minutes. Soaking helps to loosen any dirt or grime that’s built up. If your earrings have intricate designs or settings, soaking a bit longer can help reveal those tiny details.
Step 4: Gently Brush the Earrings
After soaking, use a soft toothbrush or a small, soft-bristled brush to scrub the gold earrings gently. Pay extra attention to areas with detailed designs or where dirt tends to accumulate. Use gentle, circular motions to avoid scratching the gold. This step is critical for reaching into all the crevices and ensuring a thorough clean.
Step 5: Rinse Thoroughly
Rinse the earrings under warm running water to wash away the soap and loosened dirt. Be careful to hold them securely to prevent any accidents over the sink. It’s a good idea to use a strainer or plug the drain, just in case. Make sure all the soap is rinsed off to prevent any dull residue.
Step 6: Dry and Polish
Place the cleaned earrings on a soft towel and gently pat them dry. Use a soft, lint-free cloth or microfiber cloth to polish the gold. This helps to bring back their natural shine and remove any remaining moisture. Avoid using paper towels, as they can scratch the gold’s surface.
Step 7: Inspect for Any Issues
While you’re drying and polishing, inspect the earrings for signs of wear or damage. Check that any clasps, hooks, or posts are secure and that there are no loose parts. This is especially important if your gold earrings have gemstones or intricate settings.
How To Clean Silver Earrings
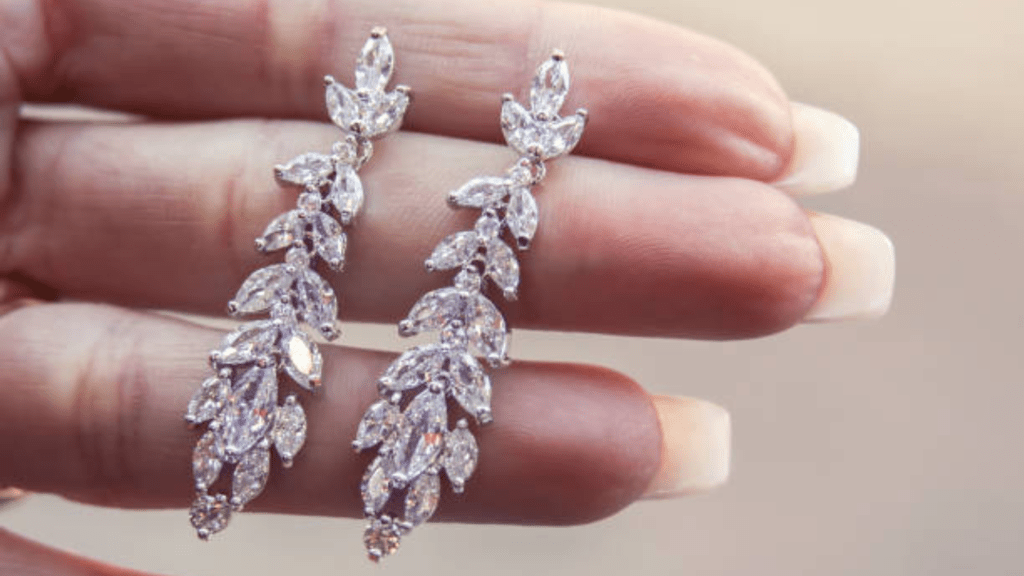
Silver earrings are beautiful and can add a touch of elegance to any outfit. However, silver tends to tarnish over time, losing its shine. Luckily, cleaning them at home is easy. Here’s a step-by-step guide to bring back their sparkle.
Step 1: Gather Your Supplies
You’ll need a few essential items:
- Mild dish soap or gentle detergent
- Warm water
- A small bowl or dish
- Baking soda (optional for stubborn tarnish)
- A soft toothbrush or a small, soft-bristled brush
- A soft, lint-free cloth or microfiber cloth
- A soft towel for drying
- Aluminum foil (optional for deep cleaning)
Step 2: Prepare the Cleaning Solution
Fill a small bowl with warm water and add a few drops of mild dish soap. Mix gently until the water is soapy. This basic solution is perfect for removing everyday dirt and oils from your silver earrings.
Step 3: Soak the Earrings
Place your silver earrings in soapy water and let them soak for 5-10 minutes. This soak helps to loosen dirt and grime. If your earrings have delicate details or gemstones, make sure they’re safe to soak before proceeding.
Step 4: Brush Gently
After soaking, use a soft toothbrush or a small, soft-bristled brush to scrub the silver earrings gently. Focus on areas with tarnish or intricate details. Use light, circular motions to avoid scratching the silver. For earrings with gemstones, be careful around the settings to prevent loosening the stones.
Step 5: Rinse Thoroughly
Rinse the earrings under warm running water to remove any soap and loosened dirt. Hold them securely to avoid dropping them. Rinse well to ensure all the soap is washed away, as any residue can dull the silver.
Step 6: Dry and Polish
Place the cleaned earrings on a soft towel and gently pat them dry. Use a soft, lint-free cloth or microfiber cloth to polish the silver and bring back its shine. This step helps to remove any remaining moisture and gives the silver a brilliant finish.
Step 7: Tackle Stubborn Tarnish
If your silver earrings still have stubborn tarnish, you can use baking soda for an extra-cleaning treatment. Make a paste with baking soda and a bit of water, then apply it to the tarnished areas. Gently rub the paste onto the silver using your fingers or a soft cloth. Rinse thoroughly and dry as before.
For a deep clean, try the aluminum foil method. Line a small bowl with aluminum foil, shiny side up, and add a tablespoon of baking soda and a tablespoon of salt. Fill with hot water, place the earrings in the solution, and let them sit for 2-5 minutes. The reaction between the aluminum and baking soda helps to remove tarnish. Rinse and dry the earrings thoroughly.
Step 8: Store Properly
Once your earrings are completely dry, store them in a way that protects them from tarnish and scratches. An ideal storage method is a lined jewelry box or a soft pouch. You can also store them with anti-tarnish strips or in a zip-lock bag to reduce exposure to air and moisture.
Tips To Keep Your Earrings Looking Great
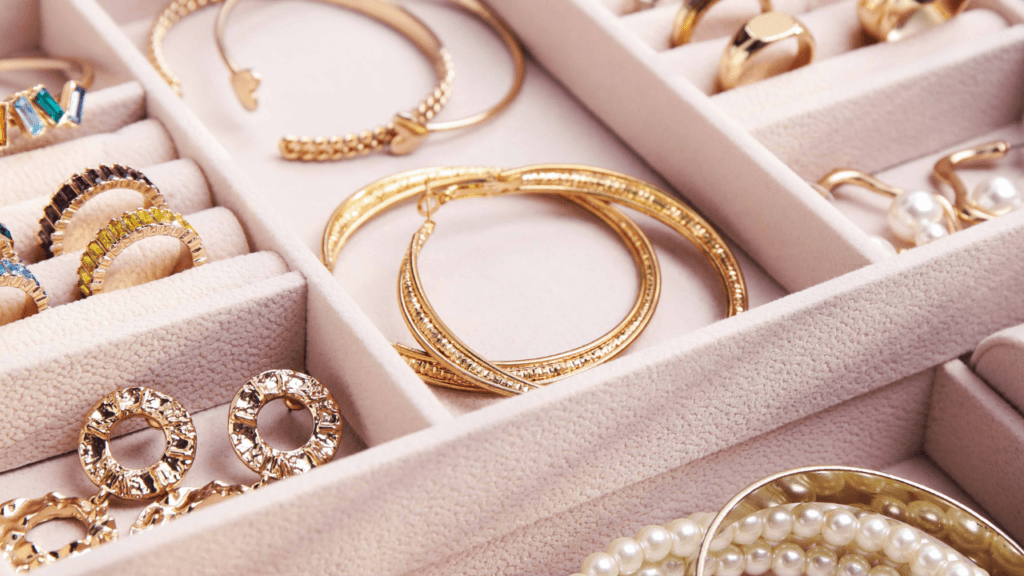
Earrings are not just accessories; they’re often cherished pieces that can hold sentimental value or add a special touch to your style. To ensure they remain in pristine condition and continue to enhance your look, here are a few simple tips to keep in mind:
- Clean Regularly: Make it a habit to clean your earrings regularly to remove dirt, oils, and buildup that can dull their shine or cause irritation.
- Store Properly: Store earrings in a jewelry box or pouch to prevent tangling, scratches, or exposure to air and moisture, which can tarnish metals or damage delicate materials.
- Avoid Chemicals: Avoid wearing earrings containing harsh chemicals such as perfumes, hairsprays, and cleaning products, as these can damage metals and gemstones over time.
- Inspect Settings: Periodically check the settings and clasps to ensure they are secure and stones are not loose, preventing loss or damage.
- Rotate Usage: Rotate your earrings regularly to prevent prolonged exposure to sweat and oils from your skin, which can affect their appearance.
- Professional Maintenance: For valuable or intricate pieces, consider professional cleaning and maintenance to ensure they are cared for properly.
By following these tips, you can extend the life of your earrings and enjoy them looking great for years to come.
Bottom Line
Regularly cleaning your earrings preserves their appearance and ensures they are hygienic and comfortable to wear. By following these cleaning tips tailored to different materials, you can prolong the life of your earrings and enjoy them looking their best for years to come.
FAQs
How To Make Your Earrings Sparkle?
Regularly clean your earrings with a gentle soap and warm water solution to make them sparkle. Polish them with a soft cloth to remove any residue and restore their shine.
How Often Should You Clean Your Earrings?
Clean your earrings every few weeks to prevent the buildup of dirt, oils, and grime that can dull their appearance and potentially cause irritation.
What Is The Best Way To Clean Earrings?
The best way to clean earrings is to soak them in mild, soapy water, gently scrub them with a soft brush, rinse thoroughly, and dry them with a soft cloth. This method effectively removes dirt without damaging most materials.
Can I Clean Earrings With Alcohol?
You can clean earrings with alcohol, such as rubbing alcohol or alcohol wipes. It’s effective for disinfecting metal parts but may not be suitable for all materials or gemstones, so check compatibility first.
Does Salt Water Clean Earrings?
Saltwater can help remove dirt and grime from earrings, especially for items like silver that tarnish. However, it’s important to rinse thoroughly afterwards to prevent any salt residue from causing damage over time.


