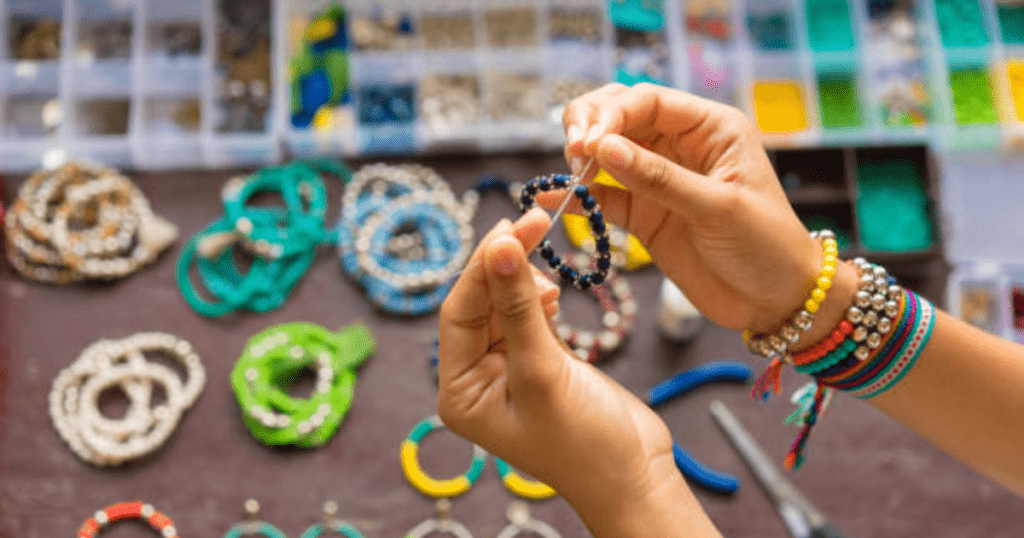
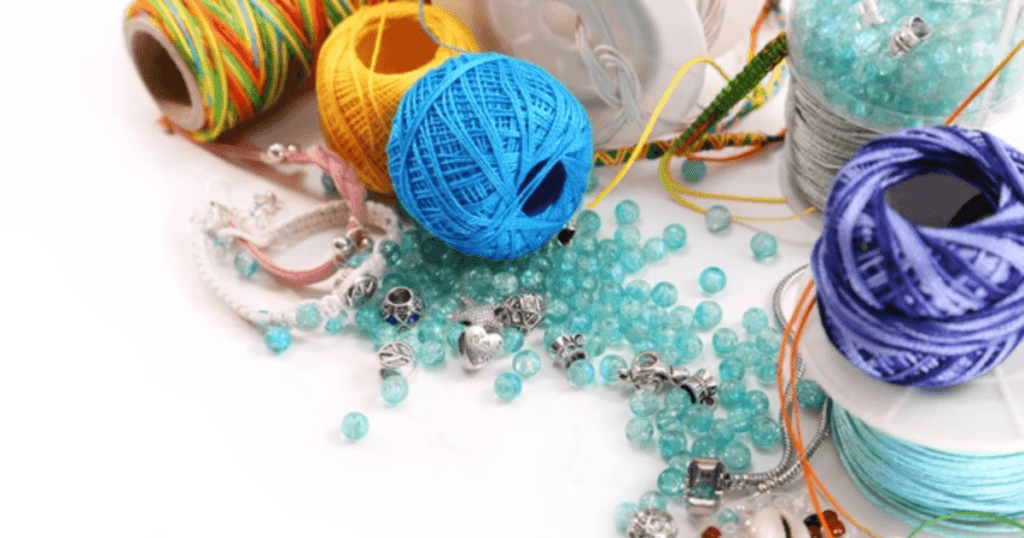
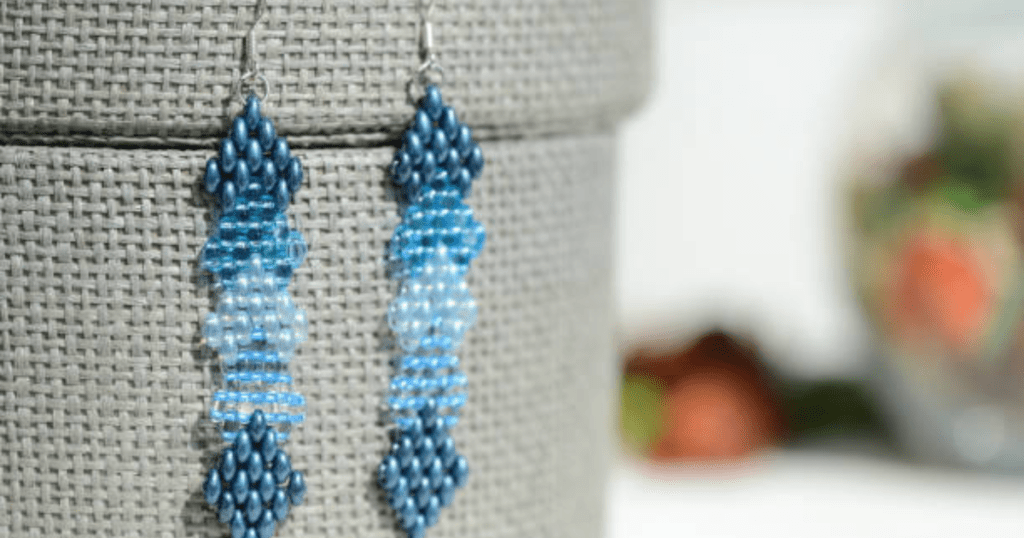
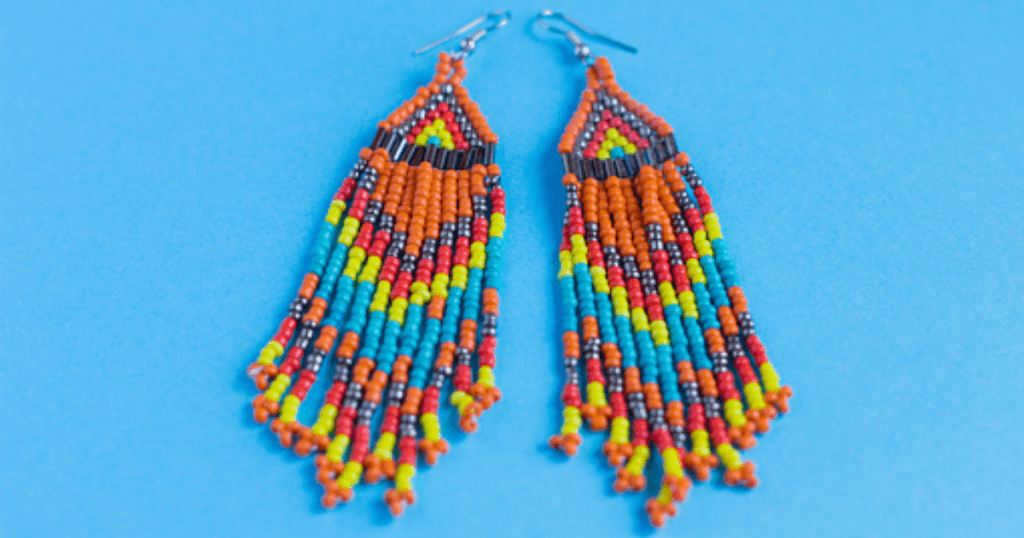
Making Beaded Earrings is not just a hobby; it’s a creative journey that lets you express your unique style through beautiful handmade jewelry. Whether a beginner or an experienced crafter, making beaded earrings is a fun way to explore different designs, colors, and materials.
With just a few essential tools and creativity, you can craft stunning earrings that reflect your personality and complement any outfit. In this guide, we’ll walk you through the step-by-step process of how to make beaded earrings, from selecting the perfect beads to finishing your masterpiece with flair and finesse.
Which Beads Are Best For Jewelry?

Selecting suitable beads for your jewelry projects can significantly enhance the beauty and appeal of your creations.
Gemstones like turquoise, amethyst, and garnet provide timeless elegance, while lampwork and Murano glass beads offer vibrant creativity.
Consider durability, color matching, and personal preferences when choosing beads to ensure your jewelry pieces are stunning and enduring.
Gemstones: Timeless Elegance
Turquoise: Vibrant and Timeless
Known for its stunning blue-green hues, turquoise is a classic choice for jewelry. Its natural beauty and historical significance make it a favorite among jewelry makers.
Amethyst: Regal and Rich
Amethyst offers a regal purple color that adds a touch of sophistication to any piece. Its durability and elegance make it a sought-after gemstone for various jewelry designs.
Garnet: Deep and Dramatic
With its rich red tones, garnet is perfect for creating striking, dramatic jewelry pieces. Its versatility allows it to be used in both casual and formal designs.
Glass Beads: Vibrant Creativity
Lampwork Beads: Artistic and Unique
Lampwork beads are handcrafted using a torch and are known for their intricate designs and vibrant colors. Each bead is a unique piece of art, making them ideal for one-of-a-kind jewelry creations.
Murano Glass: Italian Craftsmanship
Originating from the island of Murano, these beads are renowned for their exquisite craftsmanship and stunning color combinations. They bring a touch of luxury and elegance to any jewelry piece.
Considerations for Jewelry Making
Durability and Wearability
When selecting beads for jewelry, consider their durability. Gemstones like garnet and amethyst are robust and wear-resistant, while glass beads may require more care.
Color and Style Matching
Choose beads that complement the overall design and color scheme of your jewelry. Turquoise adds a pop of color, while garnet and amethyst offer deeper tones.
Personal Preference and Theme
Select beads that resonate with your style or the theme of your jewelry project. Whether you prefer the natural elegance of gemstones or the vibrant artistry of glass beads, there are options for every taste.
What Is The Best String For Beaded Earrings?

Silk thread is often the best choice when choosing the best string for beaded earrings. It is a classic choice for stringing various types of beads.
Silk thread is especially favored for pearl knotting, but its versatility doesn’t end there. What makes silk thread stand out is its incredible tensile strength, meaning it can hold up well under tension, which is essential for the longevity of your earrings.
Plus, silk thread has just the right amount of stretch, allowing it to gracefully accommodate the beads’ movement. Its subtle flexibility ensures the earrings maintain their form while providing comfortable wear.
The smooth, natural feel of silk also gives your earrings an elegant drape, making it an excellent choice for intricate and simple designs. Whether crafting a delicate pair of earrings or something more robust, silk thread is a reliable and stylish option to elevate your jewelry-making projects.
How To Make Beaded Earrings | Step By Step Procedure

Creating beaded earrings is a fun and rewarding hobby that allows you to express your creativity and craft unique accessories. Whether you’re a beginner or an experienced crafter, this step-by-step guide will walk you through making beautiful beaded earrings from start to finish. So, grab your materials, set up your workspace, and dive into the exciting world of jewellery-making!
Materials Needed
Before we start, make sure you have the following materials:
- Beads: Choose your favorite beads, such as glass, gemstone, or crystal. You’ll need enough to match the design you have in mind.
- Earring Hooks or Studs: Decide between fishhook, lever-back, or stud earring findings to suit your style.
- Headpins or Eye Pins: These metal wires help secure the beads and attach them to the earring hooks.
- Round Nose Pliers: Essential for creating loops in the wire.
- Flat Nose Pliers: Useful for holding and flattening the wire.
- Wire Cutters: For trimming excess wire.
- Bead Stoppers or Tape: To prevent beads from sliding off while you work.
- Optional: Personalize your design with charms, spacers, or other decorative elements.
Step 1: Design Your Earrings
The first step is to design your earrings. Think about the colors, patterns, and overall style you want. Consider sketching a rough design or simply arranging the beads in the order you’d like to use them.
- Choose a Color Scheme: Pick colors that complement each other and match the outfits you’ll wear with your earrings.
- Select a Pattern: Decide on a pattern or arrangement for your beads, like alternating colors or creating a gradient effect.
- Consider Adding Charms: Think about including charms or pendants for extra flair.
Step 2: Prepare Your Workspace
Set up a clean and organized workspace where you can comfortably work on your earrings. Ensure you have good lighting and all your tools and materials within reach. Lay out your beads in the order you plan to use them to make the process smoother.
- Use a Beading Mat: A beading mat will prevent beads from rolling away and provide a soft surface to work on.
- Organize Your Tools: Keep your pliers and wire cutters nearby for easy access.
Step 3: String Your Beads
Now that your workspace is ready, it’s time to string your beads onto the headpin or eye pin.
- Slide the Beads Onto the Pin: Take your first headpin and slide the beads onto it in the order you’ve planned. If you’re using spacers or charms, add them accordingly.
- Check the Length: Ensure the total length of beads matches your desired earring length. Leave enough space at the top of the pin to make a loop.
- Prevent Beads from Slipping: Use a bead stopper or a small piece of tape at the end of the pin to temporarily hold the beads in place.
Step 4: Create a Loop
Once your beads are strung, it’s time to create a loop at the top of the pin to attach it to the earring hook.
- Cut Excess Wire: Use wire cutters to trim any excess wire, leaving about half an inch above the last bead.
- Bend the Wire: Using round nose pliers, gently bend the wire at a 90-degree angle above the top bead.
- From the Loop: Wrap the wire around the tip of the round nose pliers to form a loop. Make sure the loop is tight and secure.
- Finish the Loop: Use flat-nose pliers to close the loop if necessary.
Step 5: Attach the Earring Hook
Now that your beaded component is ready, it’s time to attach it to the earring hook or stud.
- Open the Earring Hook: If using a fishhook or lever-back earring finding, gently open the small loop at the bottom using flat nose pliers.
- Attach the Beaded Component: Slide the loop you created on the headpin onto the open earring hook loop.
- Close the Loop: Use flat nose pliers to close the loop carefully, securing the beaded component.
Step 6: Final Touches and Repeat
Your first earring is almost complete! Let’s add some final touches and repeat the process for the second earring.
- Adjust Beads: Ensure all beads sit snugly and adjust them as needed.
- Repeat the Process: Follow Steps 3 to 5 to create the second earring, ensuring it matches the first one.
- Quality Check: Double-check both earrings for loose beads or open loops and make necessary adjustments.
Step 7: Enjoy Your New Earrings
Congratulations! You’ve made your very own pair of beaded earrings. Please take a moment to admire your work and enjoy wearing or gifting them to someone special.
- Try Them On: See how they look and feel, and make any adjustments if needed.
- Store Properly: When not in use, store your earrings in a jewelry box or pouch to keep them safe.
Also read: How To Make Earrings
How Do You Keep Beaded Earrings From Curling?

Keeping beaded earrings from curling is a common concern, especially when working with certain types of beads and stringing materials. Curling can affect the appearance and wearability of your earrings, but with a few simple techniques and tips, you can ensure they remain flat and attractive. Here’s how you can prevent your beaded earrings from curling:
Tips to Prevent Curling in Beaded Earrings
1. Choose the Right Stringing Material:
Use strong and sturdy materials like nylon thread, fishing line, or beading wire. These materials provide more support than silk or cotton threads, which may cause curling due to their softness.
2. Incorporate Wire Wrapping:
Use headpins, eye pins, or wire to secure beads in place. Wire wrapping creates a rigid structure that prevents curling and adds an elegant touch to the design.
3. Ensure Proper Tension:
Maintain consistent tension while stringing beads. Avoid pulling the thread too tightly, which can cause the beads to bunch up and curl.
4. Use Crimp Beads or Tubes:
Crimp beads or tubes can be used to secure beads and reduce movement. This method is beneficial for larger designs that require stability.
5. Add Bead Spacers:
Incorporate spacer beads between main beads to keep them evenly distributed. Spacers help prevent curling by allowing flexibility and reducing bead friction.
6. Choose the Right Beads:
Opt for uniform, evenly sized beads that naturally lay flat. Avoid beads that are too heavy or irregular, as they can cause earrings to twist or curl.
7. Use a Beading Loom or Stiffener:
Consider using a beading loom for intricate designs to ensure even tension across all beads. To add stability, apply a light fabric stiffener to the finished piece.
8. Check for Balanced Weight:
Ensure both earrings are evenly weighted. Imbalance can cause one earring to curl or twist more than the other.
9. Experiment with Backing Materials:
Add a thin backing material like felt or leather behind beadwork to provide additional support and prevent curling.
10. Finish with Proper Knotting:
Securely knot the thread ends and use a dab of jewelry glue to prevent slipping. Proper finishing helps maintain the design’s integrity.
11. Store Earrings Properly:
Store earrings flat or hang them to avoid the pressure that might cause curling. Use a jewelry organizer to keep them free from tangling and bending.
Also good to read: How To Disinfect Earrings Using Common Household Products
Bottom Line
Creating your jewelry can be incredibly rewarding, and knowing how to make beaded earrings opens up endless possibilities for personal expression. From selecting the perfect beads to mastering the techniques, you can craft pieces that are uniquely yours. Whether making earrings for yourself or as gifts, the skills you’ve learned will serve you well in creating beautiful, handmade accessories that reflect your style and creativity.
FAQs
Is It Okay To Wear Beaded Earrings?
It’s perfectly okay to wear beaded earrings! They’re versatile accessories that can be crafted from various materials. They allow you to express your personal style with unique designs and colors suitable for any occasion.
What Material Is Used For Beaded Earrings?
Beaded earrings are made from glass, gemstones, metal, wood, or acrylic beads. They are strung together using thread, wire, or fishing line, with metal findings such as hooks and clasps to complete the design.
What Is The Best Needle To Use For Beading?
The best needle for beading is usually a beading needle, such as a size 10 or 12 English beading needle. These needles are thin and flexible, allowing them to pass through small beads and tight spaces. Needles like Tulip or John James are popular among jewelry makers for their durability and ease of use.


