Keeping your earrings clean and bacteria-free is essential for their appearance and your ear health. Regular disinfection helps prevent infections and maintains the shine of your jewelry.
If you’re looking for effective ways to disinfect your earrings without specialized products, you can rely on everyday household items like rubbing alcohol, white vinegar, and hydrogen peroxide. These readily available substances can help eliminate germs and ensure your earrings remain hygienic.
In this guide, we’ll explore how to disinfect earrings using simple and effective methods to keep your earrings clean and sparkling.
To disinfect earrings, you can use everyday household items like rubbing alcohol, white vinegar, or hydrogen peroxide. Simply apply these substances with a cotton swab, clean the earrings thoroughly, and let them air dry. This helps eliminate bacteria and keeps your earrings hygienic.
Why It’s Necessary To Disinfect Earrings
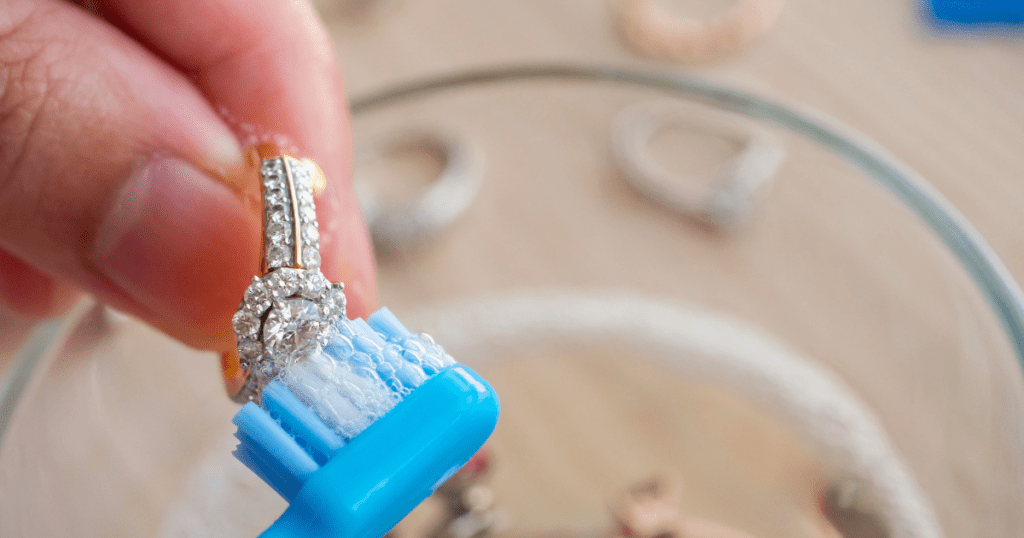
Disinfecting earrings is a crucial yet often overlooked aspect of personal hygiene and jewelry care. This comprehensive guide will explain the importance of disinfecting earrings, address common misconceptions, and provide practical steps to maintain healthy ear piercings.
From preventing infections to maintaining the longevity of your favorite jewelry pieces, understanding why it’s necessary to disinfect earrings can make all the difference in your daily routine.
Let’s explore why regular disinfection is key to keeping your ears and earrings in top shape.
1. Preventing Infections and Irritations
One of the main reasons you need to disinfect your earrings is to prevent infections and skin irritations. Here’s why it’s so important:
- Bacteria Build-Up: Earrings are exposed to various environments throughout the day. Whether at the gym, out in the city, or just going about your daily routine, bacteria can accumulate on your jewelry. If these bacteria enter your pierced ears, they can cause infections.
- Ear Piercing Sensitivity: Even if you’ve had your ears pierced for years, the skin around the piercing can still be sensitive. Disinfecting helps keep irritants at bay, reducing redness, swelling, and discomfort.
- Sweat and Moisture: Sweat and moisture can also cause ear infections. When you exercise or are in humid environments, earrings can trap moisture, which promotes bacterial growth. Regular cleaning ensures that your earrings are not a breeding ground for harmful germs.
2. Prolonging the Life of Your Earrings
Taking care of your earrings isn’t just about protecting your ears; it’s also about maintaining the quality and appearance of the jewelry itself. Here’s how disinfecting helps:
- Prevents Tarnishing: Many earrings, especially those made from metals like silver and gold, can tarnish over time due to exposure to oils from your skin and environmental pollutants. Disinfecting them regularly helps keep them looking shiny and new.
- Preserve Stones and Materials: Regular cleaning can prevent damage and discoloration if your earrings have stones or are made from delicate materials, ensuring they remain as beautiful as the day you bought them.
- Avoids Residue Build-Up: Skin oils, lotions, and other residues can accumulate on earrings, dulling their sparkle. A simple disinfection routine can help remove this buildup and keep your earrings looking their best.
3. Maintaining Healthy Ear Piercings
Proper ear piercing care is crucial, especially if you have new piercings or are prone to infections. Here’s how disinfecting earrings play a role in maintaining healthy piercings:
- Prevents Scar Tissue: Regular cleaning can prevent the formation of scar tissue around the piercing site, which can occur if infections are frequent or not treated promptly.
- Reduces Healing Time: For new piercings, disinfecting your earrings and the piercing site can promote faster healing by minimizing the presence of bacteria and other irritants.
- Prevents Piercing Reactions: Sometimes, metals used in earrings can cause allergic reactions. Cleaning can reduce the risk by removing potential allergens from the earrings’ surface.
Debunking Common Misconceptions About Earring Disinfection
There are many myths about earring care that need to be clarified. Here are a few misconceptions and the truth behind them:
- “Gold Earrings Don’t Need Cleaning”: Although gold is a less reactive metal, this doesn’t mean it’s immune to dirt and bacteria. Regular cleaning is still necessary to keep them hygienic and looking their best.
- “I Can Use Any Household Cleaner”: Using products specifically designed for jewelry or a mild saline solution for cleaning is essential. Harsh household cleaners can damage delicate earrings and irritate your skin.
- “Once Pierced, There’s No Need for Disinfection”: Even if your piercing has healed, regular disinfection is essential to maintain healthy skin and avoid infections caused by bacteria that accumulate over time.
How To Effectively Clean All Types Of Earrings
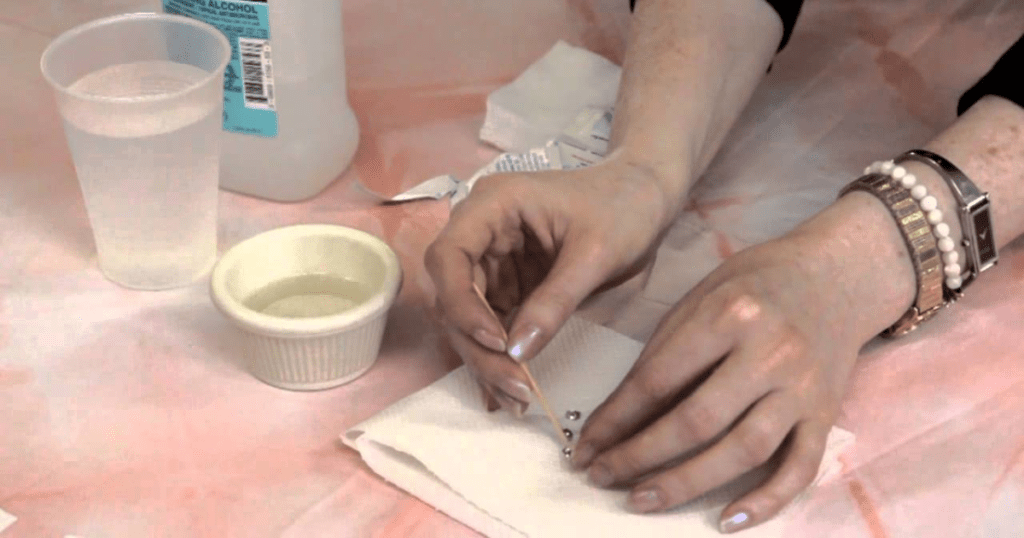
Cleaning your earrings might not always be at the top of your to-do list, but keeping them looking beautiful and ensuring your piercings remain healthy is essential.
Whether sporting classic pearls, shimmering silver, glistening gold, sparkling diamonds, or colorful gemstones, each type of earring requires its care routine.
Let’s look at a step-by-step guide on how to clean each type of earring effectively. You’ll keep your jewelry looking great with a few simple steps while protecting your precious piercings.
Pearl Earrings
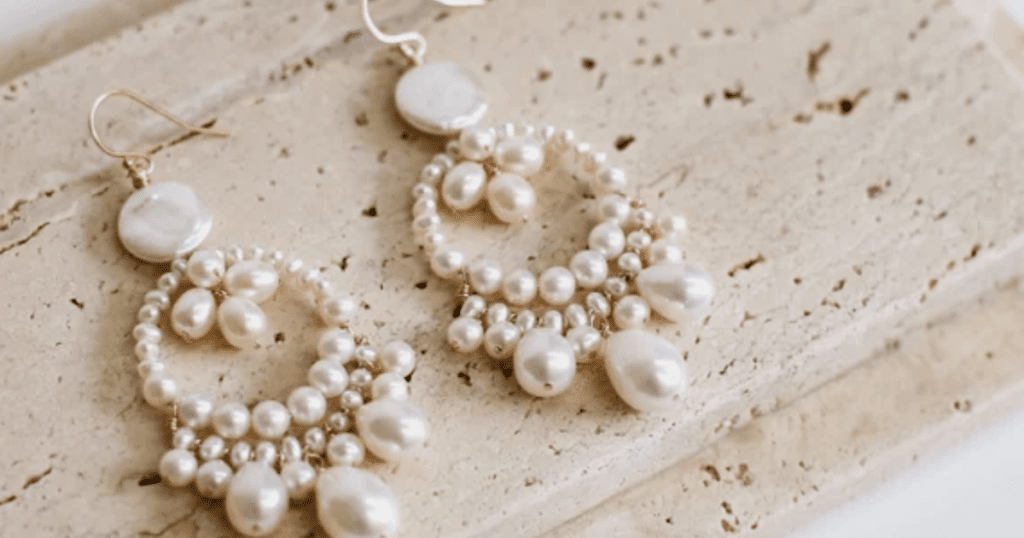
Pearl earrings are timeless and elegant but require special care to maintain their luster. Pearls are delicate, and exposure to harsh chemicals can damage them. Here’s how to clean them safely:
Step 1: Gather Your Supplies
- Lukewarm water: Pearls are sensitive to hot water, so make sure the water is warm to the touch.
- Mild soap or detergent: Use a gentle, fragrance-free soap. Avoid anything with ammonia or harsh chemicals.
- Soft cloth: A microfiber or soft cotton cloth works best.
- A small bowl: To mix your cleaning solution.
Step 2: Prepare the Cleaning Solution:
First, prepare a gentle cleaning solution to begin cleaning your pearl earrings. In a small bowl, combine a few drops of mild soap with lukewarm water, stirring gently until the mixture forms a sudsy solution.
This step is crucial for ensuring the cleaning process is effective without being too harsh on the pearls.
Step 3: Clean the Pearls:
Once your solution is ready, dampen a soft cloth with soapy water. Carefully wipe each pearl, gently removing any accumulated oils and dirt. It’s essential to be delicate during this process to avoid scratching the fragile surface of the pearls.
Additionally, you should never submerge pearl earrings in water, as excess moisture can weaken the adhesive that holds them in place and potentially damage their integrity.
Step 4: Rinse and Dry:
After cleaning, use another clean, damp cloth to remove any remaining soapy residue from the pearls. Following this, take a dry, soft cloth and gently pat the pearls dry, ensuring they are entirely moisture-free. This step is vital to maintaining the pearls’ natural sheen and preventing any damage from lingering water.
Step 5: Storage Tips:
Once your pearl earrings are clean and dry, store them properly to maintain their beauty and longevity. It’s best to store pearl earrings separately from other jewelry to prevent scratches.
A soft pouch or a lined jewelry box provides the ideal environment, protecting the pearls from unnecessary contact with other items that might cause damage.
Silver Earrings
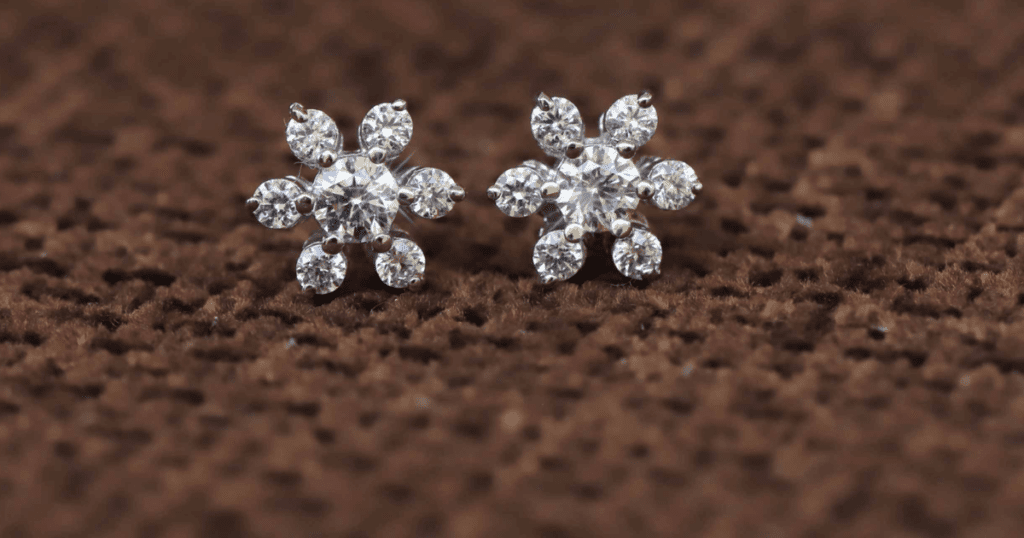
Silver earrings can tarnish over time, losing their shine. Luckily, cleaning silver is relatively straightforward. Follow these steps to restore their gleam:
Step 1: Gather Your Supplies
- Lukewarm water: Just warm enough to comfortably touch.
- Mild dish soap: Choose a soap that doesn’t contain harsh chemicals.
- Baking soda: This acts as a gentle abrasive.
- Aluminum foil: To create an electrochemical reaction that helps remove tarnish.
- Soft cloth or microfiber towel: For drying.
- A small bowl: For mixing the cleaning solution.
Step 2: Prepare the Cleaning Solution:
Begin by lining the inside of a small bowl with aluminum foil, shiny side up. This setup facilitates a chemical reaction to lift tarnish from the silver. Fill the bowl with lukewarm water, then add a tablespoon of baking soda and a squirt of mild dish soap.
Stir the solution until the baking soda is fully dissolved. This creates an effective cleaning mixture that will help break down tarnish without being too harsh on the silver.
Step 3: Clean the Silver:
Submerge your silver earrings in the bowl, ensuring they touch the aluminum foil. Let them soak for 2-3 minutes. During this time, the baking soda and aluminum foil will create a reaction that lifts away tarnish.
If any stubborn spots remain, gently scrub them with a soft toothbrush to dislodge grime. Be gentle to avoid scratching the silver surface.
Step 4: Rinse and Dry:
After soaking, rinse the earrings under lukewarm running water to remove any remaining residue. This ensures no cleaning agents remain on the earrings, which could otherwise dull their shine.
Once rinsed, use a soft cloth or microfiber towel to dry the earrings completely, ensuring no moisture is left that could lead to spotting or tarnishing.
Step 5: Storage Tips:
Store your silver earrings in an airtight bag or wrap them in an anti-tarnish cloth to prevent future tarnishing. These storage methods limit exposure to air and moisture, which contribute to tarnish. Proper storage ensures that your silver earrings remain bright and beautiful for as long as possible.
Gold Earrings
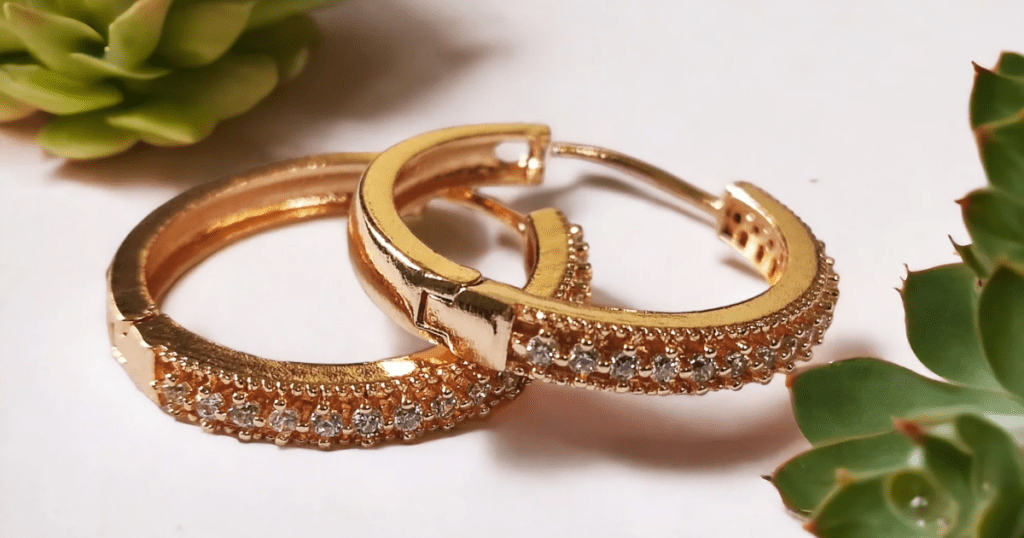
Gold earrings are relatively easy to care for but can still accumulate dirt and oils over time. Here’s how to keep them gleaming:
Step 1: Gather Your Supplies
- Lukewarm water: Comfortable to the touch.
- Mild dish soap: Gentle enough for delicate gold surfaces.
- Soft toothbrush: A clean, unused one.
- Soft cloth or microfiber towel: For drying.
- A small bowl: For the cleaning solution.
Step 2: Prepare the Cleaning Solution:
You’ll need to prepare a simple cleaning solution to start the cleaning process for your gold earrings. Add a few drops of mild dish soap to lukewarm water, stirring gently to ensure the soap is evenly mixed with the water.
This solution will effectively loosen any dirt or oils that may have accumulated on your earrings without damaging the gold.
Step 3: Clean the Gold:
Once your cleaning solution is ready, place your gold earrings in the bowl and allow them to soak for 5-10 minutes. This soaking period is crucial because it helps to loosen dirt and oils clinging to the earrings.
After washing, use a soft toothbrush to scrub any intricate areas of the earrings gently. Pay special attention to detailed designs or settings where grime may have built up, but brush gently to avoid scratching the soft gold surface.
Step 4: Rinse and Dry:
After cleaning, it’s crucial to rinse the earrings thoroughly under lukewarm running water. This removes any soap residue that could otherwise dull the earrings’ shine. Once rinsed, use a soft cloth or microfiber towel to pat the earrings dry. Ensure they are scorched before storing them, as leftover moisture can lead to spotting or tarnishing over time.
Diamond Earrings
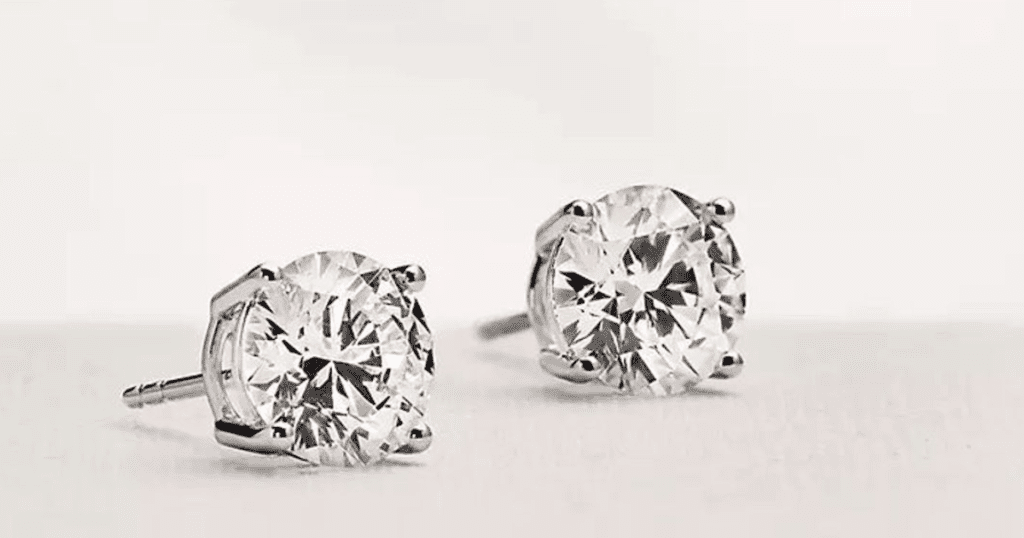
Diamond earrings are stunning and deserve to shine. Cleaning diamond earrings regularly ensures they sparkle at their best. Here’s how to do it right:
Step 1: Gather Your Supplies
- Lukewarm water: Comfortable temperature for cleaning.
- Mild dish soap: Gentle enough for diamond surfaces.
- Soft toothbrush: Clean, unused, and soft-bristled.
- Soft cloth or microfiber towel: For drying.
- A small bowl: For mixing the cleaning solution.
Step 2: Prepare the Cleaning Solution:
You must prepare a mild cleaning solution to begin cleaning your diamond earrings. In a small bowl, combine lukewarm water with a few drops of mild dish soap, then stir gently until the soap is well mixed with the water. This solution will help loosen dirt and oils from your diamonds without being harsh.
Step 3: Clean the Diamonds:
Once your cleaning solution is ready, place your diamond earrings into the bowl and let them soak for 15-20 minutes. This soaking process is crucial as it helps to loosen any dirt and oils trapped in the settings and around the diamonds.
After soaking, use a soft toothbrush to gently scrub the diamonds and their settings, paying particular attention to the undersides, where grime often accumulates. Be gently scrubbing to avoid damaging the settings or scratching the diamonds.
Step 4: Rinse and Dry:
After you’ve cleaned the earrings, it’s important to rinse them thoroughly. Hold the earrings under lukewarm running water to remove any remaining soap residue, ensuring no cleaning agents are left on the surface.
Then, use a soft cloth or microfiber towel to dry the earrings. Ensure they are scorched to prevent water spots or potential tarnish from forming over time.
Gemstone Earrings
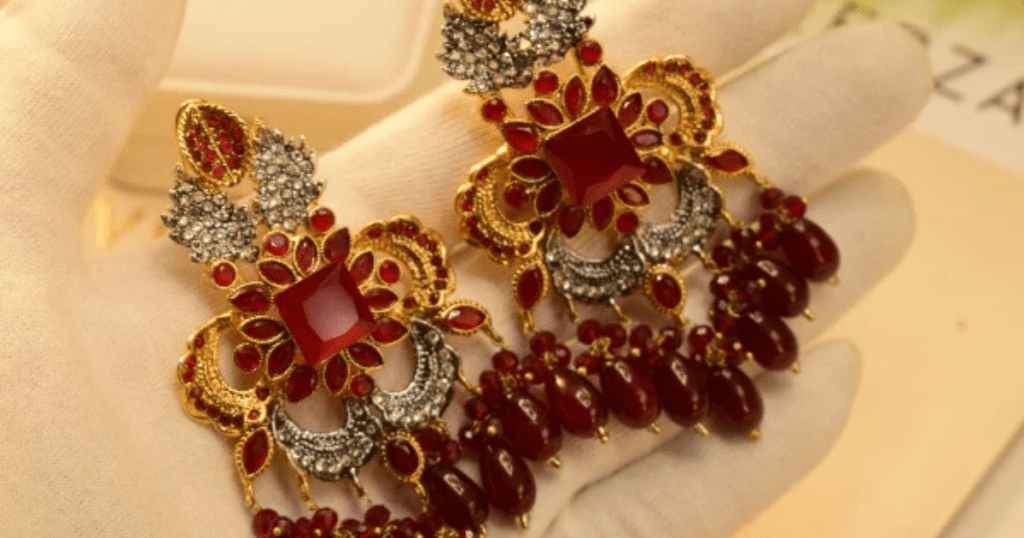
Gemstone earrings come in various types, each with unique care requirements. Here’s a general guide to cleaning most gemstone earrings:
Step 1: Gather Your Supplies
- Lukewarm water: Comfortable for cleaning.
- Mild dish soap: Gentle for gemstone surfaces.
- Soft toothbrush: Clean and unused.
- Soft cloth or microfiber towel: For drying.
- A small bowl: For the cleaning solution.
Step 2: Prepare the Cleaning Solution:
To start cleaning your gemstone earrings, you’ll first need to prepare a gentle cleaning solution. In a small bowl, combine lukewarm water with a few drops of mild dish soap, stirring gently to ensure the soap is well mixed.
This solution is designed to effectively loosen dirt and oils while being gentle enough not to damage the stones.
Step 3: Clean the Gemstones:
Once the cleaning solution is ready, place your gemstone earrings into the bowl and let them soak for 5-10 minutes. This soaking period is essential as it helps to loosen any dirt and oils that may have accumulated on the gemstones and within the settings.
After soaking, gently scrub the gemstones and their settings with a soft toothbrush. Be particularly cautious with delicate stones like opals and emeralds, as they can be more susceptible to scratches and damage. Gentle scrubbing will help remove any remaining grime without harming the stones.
Step 4: Rinse and Dry:
After cleaning, it’s essential to rinse the earrings thoroughly. Hold them under lukewarm running water to remove any soap residue, ensuring the earrings are free of any cleaning agents. Then, use a soft cloth or microfiber towel to dry the earrings.
Ensure they are thoroughly dried to prevent any water spots or damage, as lingering moisture can dull the appearance of the gemstones over time.
General Tips for All Earrings
- Regular Cleaning: Clean your earrings regularly, ideally once a month, to maintain their appearance and hygiene.
- Avoid Harsh Chemicals: Never use harsh chemicals or abrasive materials that can damage delicate surfaces.
- Be Gentle: Always handle earrings gently to avoid damaging stones or settings.
- Know Your Jewelry: Some earrings, especially those with specific gemstones or materials, may require specialized care. Consult a jeweler if you need clarification.
How To Disinfect Earrings | Pro Ways
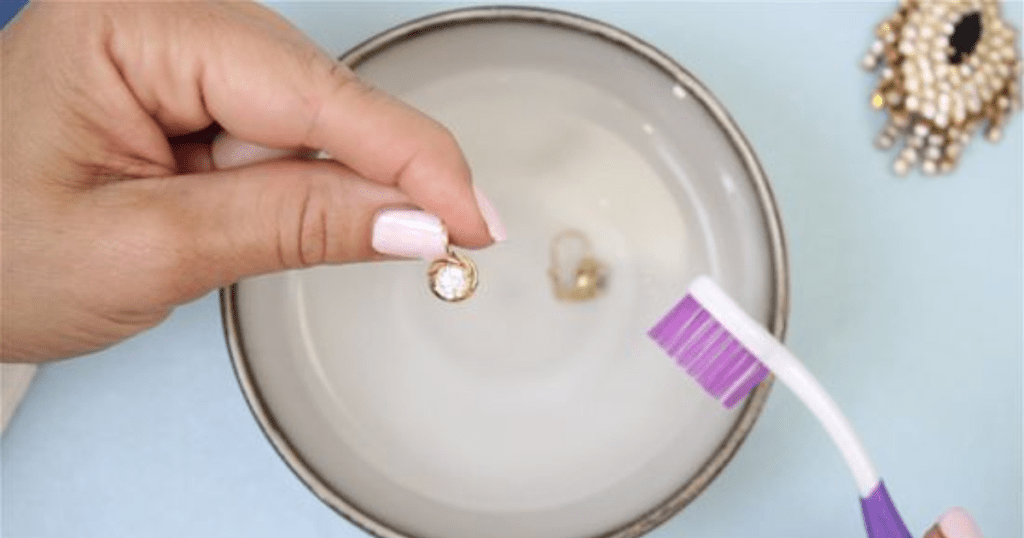
Keeping your earrings clean and free from bacteria is crucial for maintaining their beauty and ear health. Earrings are in constant contact with your skin and can quickly accumulate dirt, oils, and bacteria.
While it’s always best to clean your earrings thoroughly by removing them, there are times when you might need to disinfect them without taking them out, such as with fresh piercings or if you’re on the go.
In this section, we’ll explore several professional methods for disinfecting earrings using everyday household products like rubbing alcohol, vinegar, and hydrogen peroxide while keeping your earrings safely in your ears.
Disinfecting Earrings Without Removing Them
Sometimes, cleaning your earrings without taking them out is necessary, especially if you have new piercings or if removing them is inconvenient. Here’s how you can effectively disinfect your earrings while they remain in place:
Step 1: Wash Your Hands
Thoroughly wash your hands with soap and water. This step is crucial to avoid introducing any additional bacteria to the area around your ears.
Step 2: Moisten the Disinfectant
Take a cotton swab or cotton pad and moisten it with your chosen disinfectant. Ensure that it is damp but not overly saturated.
Step 3: Apply the Disinfectant
Gently apply the disinfectant to the front and back of the earring and the surrounding earlobe area. Be sure to clean around the post and any visible parts of the earring.
Step 4: Clean Earring Backings
If your earrings have removable backings, gently twist them slightly to ensure the disinfectant reaches all areas, including the post and backing.
Step 5: Allow to Air Dry
Let the disinfectant air dry completely before touching your earrings again. This ensures that the disinfectant has time to eliminate any bacteria effectively.
Step 6: Maintain Regular Hygiene
Repeat this process regularly to maintain earring hygiene and prevent potential infections.
Disinfecting Earrings With Rubbing Alcohol
Rubbing alcohol is a powerful disinfectant that effectively kills bacteria and germs on your earrings, and it’s beneficial for cleaning metal and non-porous materials. Here’s how to use it:
Step 1: Prepare Your Supplies:
You’ll need 70% isopropyl alcohol, cotton swabs or pads, and a small dish to hold your supplies. Make sure everything is within reach for easy access.
Step 2: Apply the Alcohol:
Moisten a cotton swab or pad with rubbing alcohol, ensuring it’s damp but not dripping. Gently wipe the front and back of the earring, paying particular attention to the post and the part that touches your ear. Use the cotton swab to get into crevices for earrings with intricate designs.
Step 3: Clean the Earring Backs:
If your earrings have removable backs, you can disinfect them by gently twisting them slightly to expose more of the post. Then, wipe thoroughly with alcohol-dampened cotton.
Step 4: Allow to Dry:
Let the alcohol evaporate completely before touching the earrings. This ensures that any bacteria or germs are fully neutralized and reduces the risk of irritation.
Frequency: It’s recommended to disinfect your earrings with rubbing alcohol at least once a week to maintain cleanliness and prevent infection, especially if you have sensitive skin or new piercings.
Disinfecting Earrings With Vinegar
Vinegar is a natural, non-toxic disinfectant that is effective for cleaning earrings, especially metal ones. Its acidic nature helps break down dirt and kill bacteria. Here’s how to use vinegar for disinfecting earrings:
Step 1: Gather Your Materials:
White vinegar, cotton balls or swabs, and a small cup will be needed. Ensure your hands are clean before handling your earrings.
Step 2: Prepare the Vinegar Solution:
Pour a small amount of white vinegar into a cup. If the smell is too strong, you can dilute it slightly with lukewarm water, though full-strength vinegar works best for disinfection.
Step 3: Apply the Vinegar:
Dip a cotton ball or swab into the vinegar, then gently apply it to the earrings. Focus on the areas that come into contact with your skin, such as the posts and hooks. For earrings with intricate details, use the cotton swab to reach into crevices carefully.
Step 4: Clean the Surrounding Area:
Carefully wipe the earlobe and surrounding skin with the vinegar-soaked cotton ball, avoiding over-saturation, which might irritate sensitive skin.
Step 5: Let Them Dry:
Allow the earrings to air dry completely. The vinegar smell will dissipate as it dries, leaving your earrings clean and sanitized.
Regular Maintenance: Regular cleaning with vinegar can help keep your earrings free from harmful bacteria. Aim for weekly cleanings or more often if you wear your earrings daily.
Disinfecting Earrings With Hydrogen Peroxide
Hydrogen peroxide is a versatile disinfectant known for killing germs and bacteria, making it an excellent choice for cleaning earrings. Here’s a step-by-step guide on how to disinfect your earrings using hydrogen peroxide:
Step 1: Prepare the Hydrogen Peroxide:
Use a 3% hydrogen peroxide solution, which is safe for skin contact and effective for disinfection. Pour a small amount into a dish for easy access.
Step 2: Soak the Cotton Swab:
Dip a cotton swab or pad into the hydrogen peroxide. Ensure it’s thoroughly moistened but not dripping, as excess liquid might irritate your skin.
Step 3: Clean the Earrings:
Carefully wipe the earrings with the peroxide-soaked swab, focusing on areas that touch your skin. The peroxide will help remove any dirt buildup and kill bacteria on the surface.
Step 4: Focus on Intricate Parts:
If your earrings have detailed designs, use the swab to reach into tiny areas and clean them thoroughly. Hydrogen peroxide bubbles upon contact with contaminants, helping to lift away dirt.
Step 5: Drying Process:
Allow the hydrogen peroxide to air dry on the earrings. This eliminates any remaining bacteria and prevents moisture from causing irritation.
Frequency of Use: It’s advisable to disinfect your earrings with hydrogen peroxide at least once a week or whenever you notice signs of buildup or irritation.
How To Often Should You Sterilise Earrings?
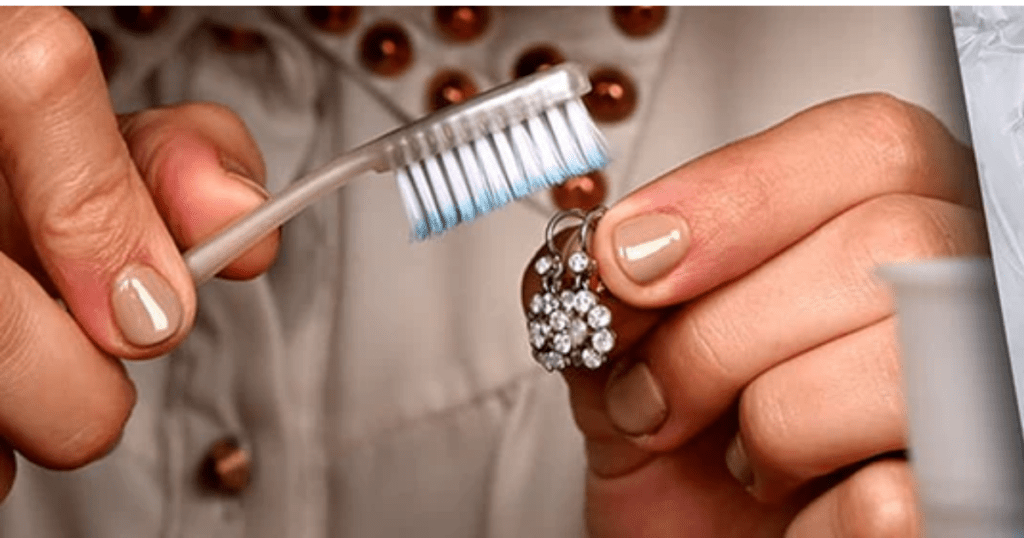
Sterilizing earrings is essential for maintaining ear health and ensuring your jewelry remains clean and free from harmful bacteria.
The frequency of sterilizing your earrings depends on several factors, including the type of earrings, how frequently you wear them, and your skin’s sensitivity. However, to effectively prevent the build-up of dirt and bacteria, it is generally recommended that you clean and sterilize your earrings at least once a week.
Here’s a guide to help you determine how often you should sterilize your earrings:
1. New Piercings:
For new piercings, sterilizing your earrings more frequently is crucial to prevent infections. Aim to sterilize them daily during the initial healing period, which can last from 6 weeks to several months, depending on the type of piercing. Always follow the aftercare instructions provided by your piercer or healthcare provider.
2. Daily Wear:
If you wear earrings daily, sterilize them once a week. This regular cleaning helps prevent bacteria, oils, and dirt buildup, especially if you wear them while sleeping or during physical activities.
3. Sensitive Skin:
If you have sensitive skin or experience irritation or discomfort, you may need to sterilize your earrings more frequently. Sterilizing them two to three times a week can help reduce the risk of infections and irritation.
4. Before and After Special Occasions:
Whenever you’re preparing for a special event or after wearing your earrings for an extended period, it’s wise to sterilize them before and after to ensure they are clean and to minimize the risk of potential infections.
5. Storage:
Even when not in use, keeping your earrings clean and sterilized is beneficial, especially if they are stored in environments prone to dust or moisture. Sterilize your earrings before putting them away for extended periods to keep them in optimal condition.
6. After Contact with Irritants:
If your earrings come into contact with irritants like lotions, perfumes, or hair products, sterilizing them immediately afterward is a good idea. These substances can breed bacteria and contribute to irritation.
Bottom Line
Regularly disinfecting your earrings with everyday household products ensures they remain clean and bacteria-free. Items like rubbing alcohol, vinegar, and hydrogen peroxide can easily maintain your jewelry’s hygiene and appearance. Incorporate these simple practices into your routine to keep your earrings sparkling and safe.
FAQs
1. How To Disinfect Earrings Without Alcohol?
Use white vinegar or hydrogen peroxide to disinfect earrings; both effectively kill bacteria and can be applied with a cotton swab or pad.
2. Is It Okay To Clean Earrings With Rubbing Alcohol?
Rubbing alcohol is a suitable disinfectant for cleaning earrings, effectively killing bacteria and removing residues.
3. Does Hand Sanitizer Sterilize Earrings?
Hand sanitizer is not ideal for sterilizing earrings as it may leave residues that can irritate the skin; it’s better to use proper disinfectants like rubbing alcohol or vinegar.
4. Does Salt Water Sterilize Earrings?
Saltwater can help clean and reduce bacteria, but it is not a reliable sterilizing method; use alcohol or hydrogen peroxide for thorough disinfection.


